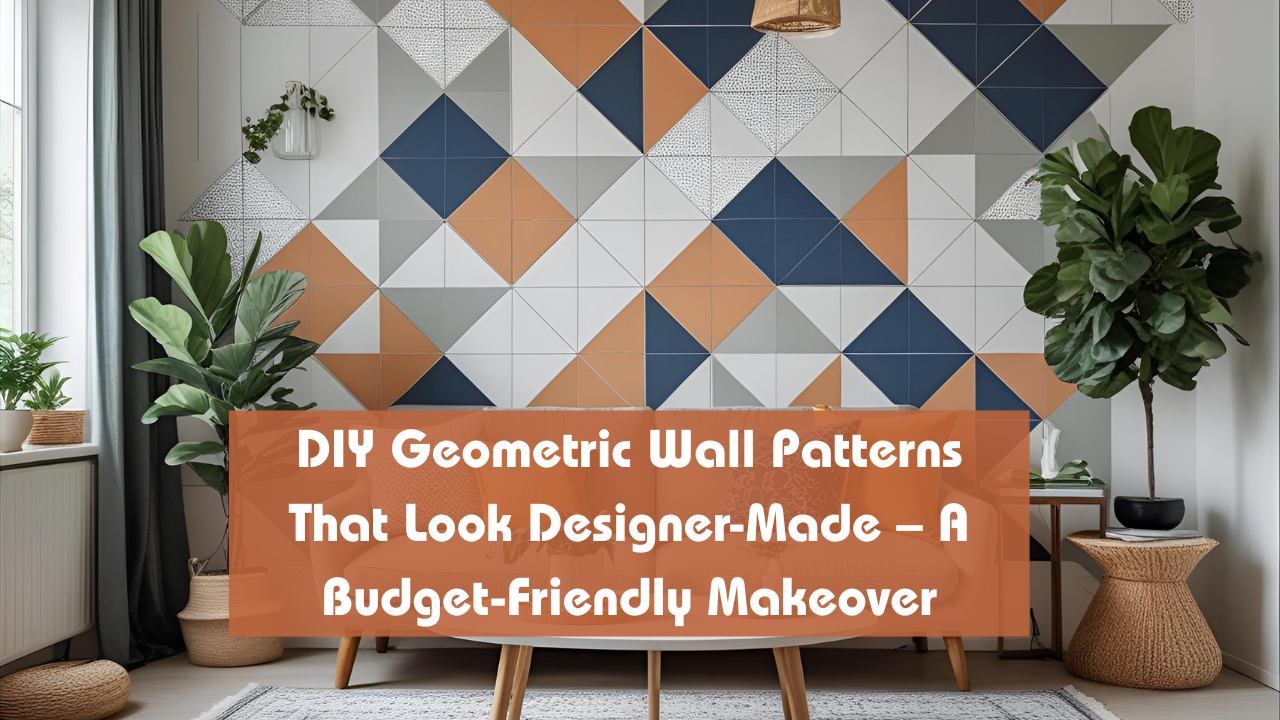
Looking to elevate your interiors without spending a fortune? Geometric wall patterns offer a chic, modern aesthetic that instantly transforms dull walls into striking focal points. Even better, you don’t need to hire a professional—these DIY techniques will help you achieve a designer-quality finish at home.
In this guide, we’ll explore step-by-step methods, essential tools, tips for beginners, and expert-approved patterns that deliver bold impact with minimal effort.
Table of Contents
- Why Choose Geometric Wall Patterns?
- Tools & Supplies You’ll Need
- Top DIY Geometric Pattern Ideas
- Step-by-Step Guide: How to Paint Geometric Walls
- Pro Tips for a Designer Look
- Final Thoughts
Why Choose Geometric Wall Patterns?
Geometric wall designs offer more than visual appeal—they add depth, dimension, and personality to any space. Whether it’s a nursery, living room, or home office, these patterns:
- Work with any color palette
- Suit both minimalist and maximalist decor
- Create dynamic, statement-making surfaces
They’re a top trend in 2025 home decor, often featured in leading design blogs like Apartment Therapy and The Spruce.
Tools & Supplies You’ll Need
Before diving in, gather these essential materials:
| Item | Purpose |
|---|---|
| Painter’s tape | Marking clean geometric lines |
| Measuring tape | Precision for layout and symmetry |
| Level/ruler | Keeping lines straight and aligned |
| Acrylic/latex paint | Your color choices |
| Paintbrushes/rollers | Application (small and large areas) |
| Pencil/chalk | Lightly sketch pattern outlines |
Optional: stencil cutter or pre-made wall stencils if you’re not free-handing the shapes.
Top DIY Geometric Pattern Ideas
Want inspiration? Here are some popular DIY patterns that mimic a high-end look:
1. Triangle Mosaic
Mix small and large triangles in bold or muted tones for an abstract, contemporary vibe.
2. Hexagon Honeycomb
Ideal for a nursery or kitchen backsplash effect. Alternate shades within each hexagon for contrast.
3. Herringbone Lines
A modern twist on classic chevron—perfect for hallway or accent walls.
4. Grid Blocks
Create perfect squares or rectangles in a structured layout using masking tape.
Step-by-Step Guide: How to Paint Geometric Walls
Here’s how to bring your vision to life:
Step 1: Plan Your Design
Sketch out your pattern on paper. Decide on color combinations and wall placement.
Step 2: Measure & Mark
Use measuring tape and pencil to lightly draw guidelines on the wall.
Step 3: Tape the Pattern
Apply painter’s tape along all edges where different colors will meet. Ensure clean adhesion.
Step 4: Paint Within Sections
Fill each geometric area with your chosen colors. Use smaller brushes for edges.
Step 5: Peel Off Tape
Once the paint is semi-dry, carefully remove the tape to avoid chipping.
Step 6: Touch-Up & Finish
Fix any bleeding paint or uneven lines. Let the wall dry fully for at least 24 hours.
Pro Tips for a Designer Look
- Stick to 2–3 main colors to avoid overwhelming the space.
- Matte finishes often look more polished than glossy paints.
- Use a laser level for complex patterns like diamonds or 3D cubes.
- Choose complementary hues from a color wheel for harmony.
If you’re unsure about color pairings, try using free online tools like Coolors for quick palette generation.
Final Thoughts
You don’t need to be an artist or interior designer to create a stunning feature wall. With a bit of patience and creativity, DIY geometric wall patterns can revitalize your space and make it truly one-of-a-kind. The key is precision, color coordination, and smart planning.
So grab your brushes and get painting—it’s time to turn that boring wall into a modern masterpiece!

