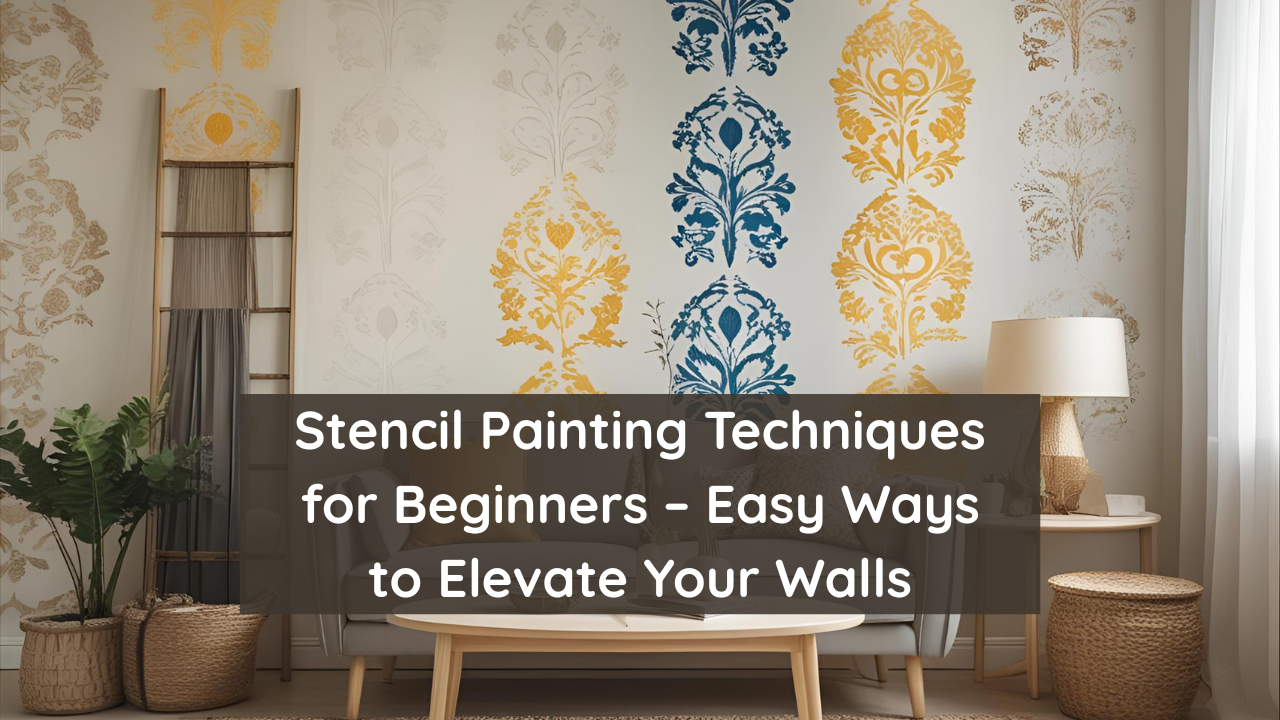
Stencil painting is one of the easiest and most creative ways to add personality and pattern to your walls—even if you’ve never picked up a brush before. With minimal tools and a bit of patience, you can achieve professional-looking results using stencil techniques that are perfect for beginners.
Whether you want to paint a feature wall, refresh old furniture, or add accents to corners, stencil art allows you to transform spaces with ease and precision.
Table of Contents
- What Is Stencil Painting?
- Why Beginners Love This Technique
- Must-Have Tools and Materials
- Beginner-Friendly Stencil Painting Techniques
- Common Mistakes to Avoid
- Creative Ideas to Try
- Final Thoughts
What Is Stencil Painting?
Stencil painting is a technique where you use pre-cut patterns or templates to apply paint in a specific shape or design. The stencil acts as a guide, helping you create precise patterns without needing freehand drawing skills.
From geometric prints to floral motifs and inspirational quotes, stencils make it easy to reproduce designs cleanly and consistently.
Why Beginners Love This Technique
Stencil painting is ideal for beginners because:
- ✅ No need for drawing skills
- ✅ Reusable designs mean less waste
- ✅ Works on walls, furniture, fabric, and floors
- ✅ Affordable and accessible
- ✅ Gives fast, satisfying results
It’s perfect for renters, DIY lovers, and anyone looking to personalize their space without committing to permanent changes.
Must-Have Tools and Materials
Here’s what you need to get started:
| Item | Purpose |
|---|---|
| Stencils (store-bought or DIY) | Main design template |
| Painter’s tape or stencil adhesive | To hold the stencil in place |
| Acrylic or latex paint | For walls, wood, or fabric |
| Foam roller or stencil brush | To apply paint evenly |
| Paper towels or rag | To blot excess paint |
| Drop cloth | To protect your surface area |
Optional: spray paint, sponges, or metallic paint for creative effects.
Beginner-Friendly Stencil Painting Techniques
1. Dabbing (Pouncing) Technique
Use a stencil brush or sponge to dab paint onto the stencil in an up-and-down motion. This avoids bleeding under the edges and ensures crisp lines.
2. Rolling Technique
For larger stencils, use a foam roller with minimal paint. Roll lightly over the stencil to cover the design evenly. Be sure not to overload the roller.
3. Spray Painting
Perfect for bold, modern looks. Lightly spray over your stencil and peel it off before the paint dries. Use outdoors or in well-ventilated areas.
4. Dry Brushing
Dip your brush in paint, then wipe most of it off. Use what’s left to apply a soft, faded effect, great for vintage or rustic styles.
Common Mistakes to Avoid
Avoid these beginner pitfalls for cleaner results:
- ❌ Using too much paint (causes bleeding)
- ❌ Not securing the stencil properly
- ❌ Rushing the drying process between repeats
- ❌ Forgetting to clean the stencil regularly
- ❌ Overlapping designs without planning
💡 Tip: Always test your technique on cardboard before applying it to walls or furniture.
Creative Ideas to Try
Here are some beginner-friendly stencil ideas:
- Border Designs – Add a trim-like pattern around doors or baseboards.
- Accent Wall Patterns – Use geometric or floral stencils to cover one wall.
- Furniture Makeovers – Refresh an old dresser or tabletop with a bold design.
- Ceiling or Floor Accents – Apply unique motifs in unexpected places.
- Inspirational Quotes – Stencil in words or phrases for a motivational touch.
You can find free or paid stencils on websites like Stencil Revolution or Etsy.
Final Thoughts
Stencil painting is a beginner-friendly, creative, and budget-conscious way to add depth and charm to your home décor. With just a few supplies and techniques, you can turn plain surfaces into eye-catching features that look professionally done.
Whether you’re updating a single wall or crafting a custom furniture piece, stencil art gives you the freedom to experiment, customize, and impress—even on your very first try.

