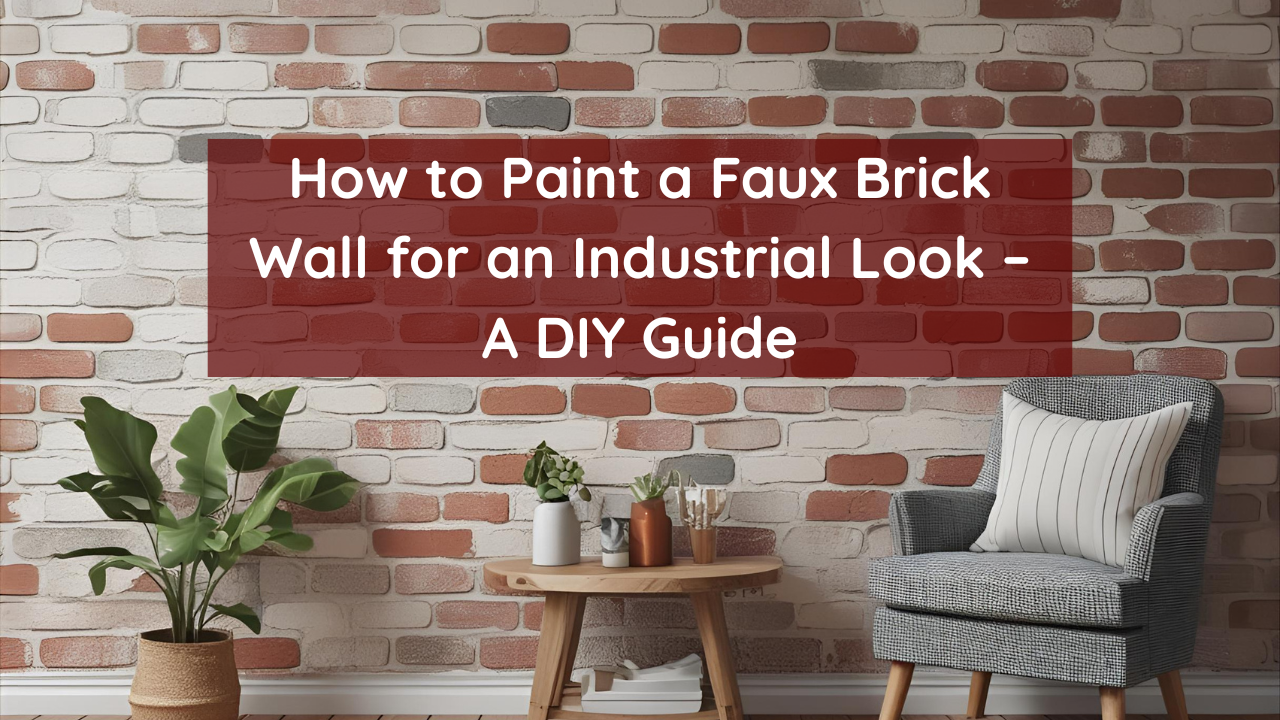
Love the look of exposed brick but not ready for a full renovation? A faux brick wall painted by hand can give your space that edgy, industrial charm—without the cost or mess of real brickwork. Whether you’re styling a loft, office, or cozy corner, this easy DIY project lets you capture the rustic vibe of urban interiors using just paint and creativity.
This guide walks you through how to recreate realistic-looking brick with texture and depth using beginner-friendly techniques.
Table of Contents
- Why Go for a Faux Brick Wall?
- Materials You’ll Need
- Step-by-Step: How to Paint a Faux Brick Wall
- Finishing Touches for a Realistic Effect
- Design Ideas and Color Options
- Final Thoughts
Why Go for a Faux Brick Wall?
Faux brick painting is a smart solution when:
- Real brick is too expensive or heavy
- You want flexibility in color and style
- You live in a rental and need a non-permanent option
- You love DIY and want a unique statement wall
It’s an ideal way to add texture and character to modern, farmhouse, or industrial spaces without any construction.
Materials You’ll Need
Before getting started, gather the following supplies:
| Item | Purpose |
|---|---|
| Painter’s tape | To create brick outlines |
| Level & measuring tape | For straight, even rows |
| Acrylic or latex paint | Base, brick, and grout shades |
| Sponges or sea sponges | To create brick texture |
| Paintbrushes & rollers | For base coats and touch-ups |
| Pencil or chalk | For marking your brick layout |
| Optional: joint compound | To add physical texture for raised “bricks” |
Step-by-Step: How to Paint a Faux Brick Wall
Step 1: Prep the Surface
Clean the wall and make sure it’s smooth. Apply a primer if needed.
Step 2: Draw Your Brick Grid
Use a pencil, level, and measuring tape to map out a brick pattern. Standard bricks are usually 7.5″ wide x 2.5″ tall, but you can customize to your space.
Step 3: Apply Painter’s Tape for Grout Lines
Lay tape horizontally and vertically over your markings to create the illusion of grout lines.
💡 Tip: Stagger the rows so each “brick” appears natural and offset.
Step 4: Paint the Brick Base Color
Use a roller or sponge to dab on the main brick color—reds, browns, grays, or whites work well. Don’t aim for perfection—variation looks more realistic.
Step 5: Add Texture and Depth
While the base is still tacky, sponge on darker or lighter tones to mimic natural brick color variation. A sea sponge works best for this step.
Step 6: Peel Off Tape
Carefully remove the painter’s tape before the paint fully dries. This reveals your grout lines and completes the illusion.
Finishing Touches for a Realistic Effect
- Dry brush white or gray over your bricks for a “weathered” or whitewashed look.
- Use a detail brush to darken certain lines or cracks for added depth.
- For extra dimension, consider applying a thin layer of joint compound before painting to raise your brick shapes slightly.
Design Ideas and Color Options
Here are a few color themes based on interior styles:
| Style | Brick Colors | Grout Color |
|---|---|---|
| Industrial Loft | Dark red, rust, black | Concrete gray |
| Farmhouse Chic | White, soft gray, taupe | Light cream |
| Boho Eclectic | Terracotta, dusty rose | Beige or off-white |
| Modern Minimalist | Slate, charcoal, gray | Crisp white |
You can use color palette generators like Coolors to experiment with combinations before you begin.
Final Thoughts
Creating a faux brick wall with paint is a creative, budget-friendly way to achieve that raw industrial aesthetic in any room. The process is easy to follow, fun to personalize, and completely adjustable to your space and taste.
So grab your tape, pick your brick shade, and start painting your way to a stylish new feature wall—no construction required.

