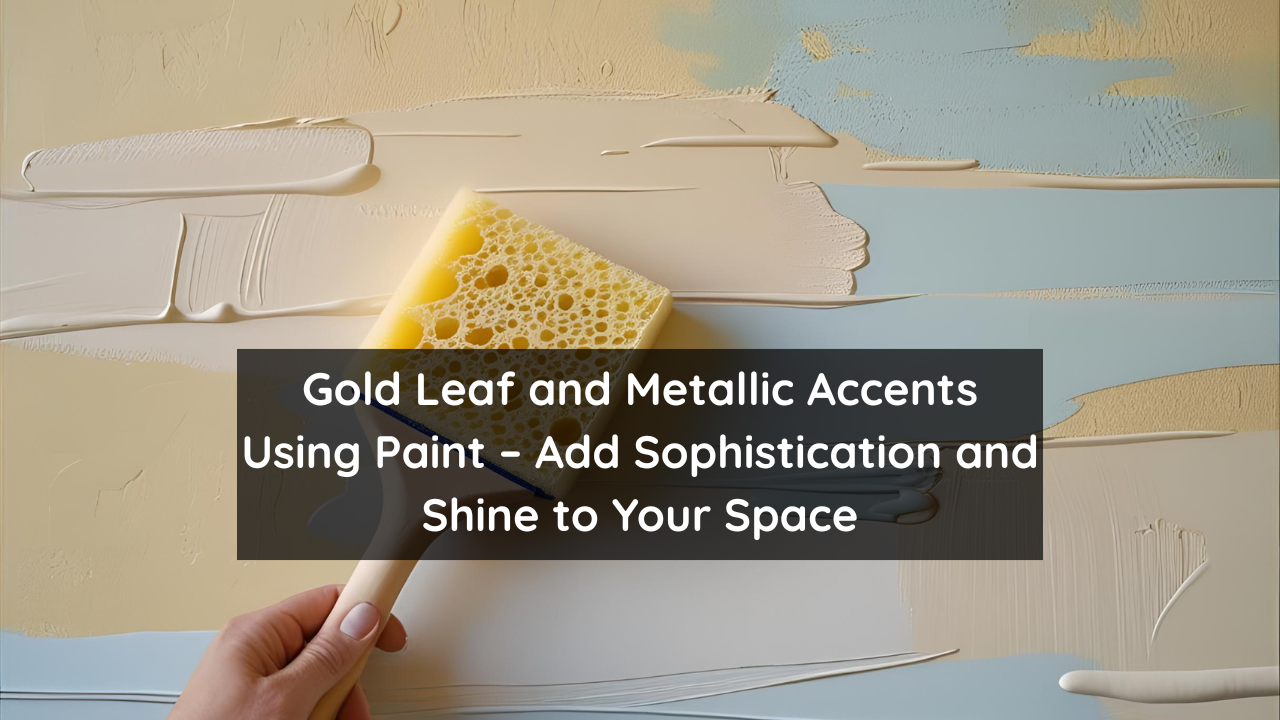
Sponge painting is a versatile and budget-friendly way to enhance your walls with subtle texture and depth. Whether you’re looking to soften a bold color, create a dreamy layered look, or add a rustic finish, sponge painting offers a gentle, artistic solution. Unlike flat wall paint, this technique gives your surface a natural, cloud-like appearance that feels warm and handcrafted.
In this guide, you’ll learn how to apply sponge painting methods effectively—even if you’re new to DIY wall finishes.
Table of Contents
- What Is Sponge Painting?
- Benefits of Using Sponge Painting Techniques
- Tools and Materials You’ll Need
- Step-by-Step Sponge Painting Method
- Popular Sponge Painting Styles
- Tips for Smooth and Natural Results
- Final Thoughts
What Is Sponge Painting?
Sponge painting is a faux finish technique that uses a natural or synthetic sponge to apply glaze or paint in soft, irregular patterns. The sponge’s unique texture helps create a layered, multi-tonal look that adds visual interest without sharp lines or hard edges.
This technique became popular in the 1990s and remains a favorite for those wanting a textured but understated effect.
Benefits of Using Sponge Painting Techniques
- Adds depth and character to flat wall colors
- Softens bold tones with blended highlights or lowlights
- Easy to apply—no advanced artistic skills required
- Works well on walls, ceilings, or furniture
- Customizable to suit modern, rustic, or vintage aesthetics
It’s also a forgiving technique—small imperfections blend in naturally and contribute to the charm.
Tools and Materials You’ll Need
To start sponge painting, gather the following:
| Item | Use |
|---|---|
| Base coat paint | Main wall color to be applied first |
| Glaze or secondary paint | To apply over the base for layered effect |
| Sea sponge or synthetic sponge | For dabbing the glaze onto the surface |
| Paint tray | To hold and blot the glaze |
| Painter’s tape | To protect trim and adjacent walls |
| Drop cloth | To cover floors and furniture |
| Ladder (if needed) | For higher wall sections or ceilings |
Step-by-Step Sponge Painting Method
1. Prepare Your Wall
Clean the surface and apply a solid base coat. Let it dry completely before beginning the sponge technique.
2. Thin the Topcoat (Optional)
If using a glaze or secondary paint, thin it slightly with water or a glazing medium for better transparency and blendability.
3. Dip and Dab
Lightly dip the sponge into the glaze, blot off excess on a paper towel, and dab the sponge onto the wall in a random, overlapping motion.
4. Work in Sections
Start in one corner and move in small sections. Step back regularly to ensure an even, natural look.
5. Blend if Necessary
If areas appear too heavy, use a clean sponge to soften or feather out the glaze.
Popular Sponge Painting Styles
Tone-on-Tone Blending
Use two shades of the same color family—this results in a soft, cloudy effect that works well in bedrooms or bathrooms.
High Contrast Layering
Pair a bold base color with a much lighter or darker topcoat to create a more dramatic texture, ideal for accent walls.
Antique or Aged Finish
Sponge a muted glaze over an off-white base to mimic the look of aged plaster or weathered walls, great for vintage interiors.
Metallic Sponge Finish
Add a subtle shimmer by using metallic paint as the glaze—perfect for elegant dining areas or entryways.
Tips for Smooth and Natural Results
- Use a sea sponge for more natural texture and varied pores.
- Test the technique on scrap cardboard before applying to your wall.
- Don’t overload the sponge—less paint = more control.
- Rotate the sponge often to avoid repetitive patterns.
- Maintain a light touch to prevent blotchy spots.
You can explore sponge painting inspiration on design-focused platforms like Houzz or Better Homes & Gardens.
Final Thoughts
Sponge painting offers an easy, affordable, and creative way to add visual softness and depth to any room. Whether you’re aiming for an old-world texture, a modern layered backdrop, or a cozy accent wall, this timeless technique adapts beautifully to different styles.
With minimal supplies and a bit of patience, your walls can go from plain to polished with texture that feels both subtle and intentional.

